When you get your boat lift, it will with a bunch of metal parts packaged in plastic, wood, and other packing materials designed to protect it during shipping. How do these pieces of metal come together to create a sturdy foundation for your boat? With a little elbow grease, help from a boating buddy, and ShoreMaster, of course!
While our products are engineered for easy ownership, installation, and maintenance, it helps to read the directions for individual products, which are also available on our website. Generally, ShoreMaster has boat lift installation tips that will work with any ShoreMaster boat lift.
Learn Your Waterway
Water depth and bottom quality is important to figure out for standing boat lifts prior to installation because those adjustments can be hard to make afterward and affect footing. Measure the water depth at the deep end of where you’ll be lifting, and then again after moving 10 feet closer to the shore for the shallower depth to get your leg height.
Measure Your Boat
The type of boat you have will affect when you calculate your boat lift’s measurements. You should have a lift that’s rated for the size and weight capacity that you’ll need. As for the measurements that you can adjust once you get your lift, think of the style and beam. The beam is the widest part of your boat, so measure that plus a four- to ten-inch cushion on either side, depending on if you’re adding guideposts. You’ll also need to know the length and the measurement of the keel if your boat has one.
Start Assembling
Always wear gloves, shoes, and protective eyewear during assembly. Work in a flat area with plenty of room, a basic set of tools, and help from at least one other adult. Lay out the piece bundles, inspect the boxes and bags for small parts, and compare the parts lists to what you have. We recommend keeping the small parts and hardware in the box until needed, so you don’t lose track of them.
Don’t assemble anything if the parts are damaged or missing. Find a ShoreMater dealer to get the situation sorted out—we want to ensure that you have the best and safest experience possible!
Head Out Onto the Water
As we said, it’s easier to make adjustments onshore rather than in the water, so take this time to make measurements and pre-adjust leg height. If your boat has a keel, measure its width and depth on the trailer, erring on the side of more clearance than you need. Measure the bunk width to match the hull, pontoons, or keel, and adjust accordingly.
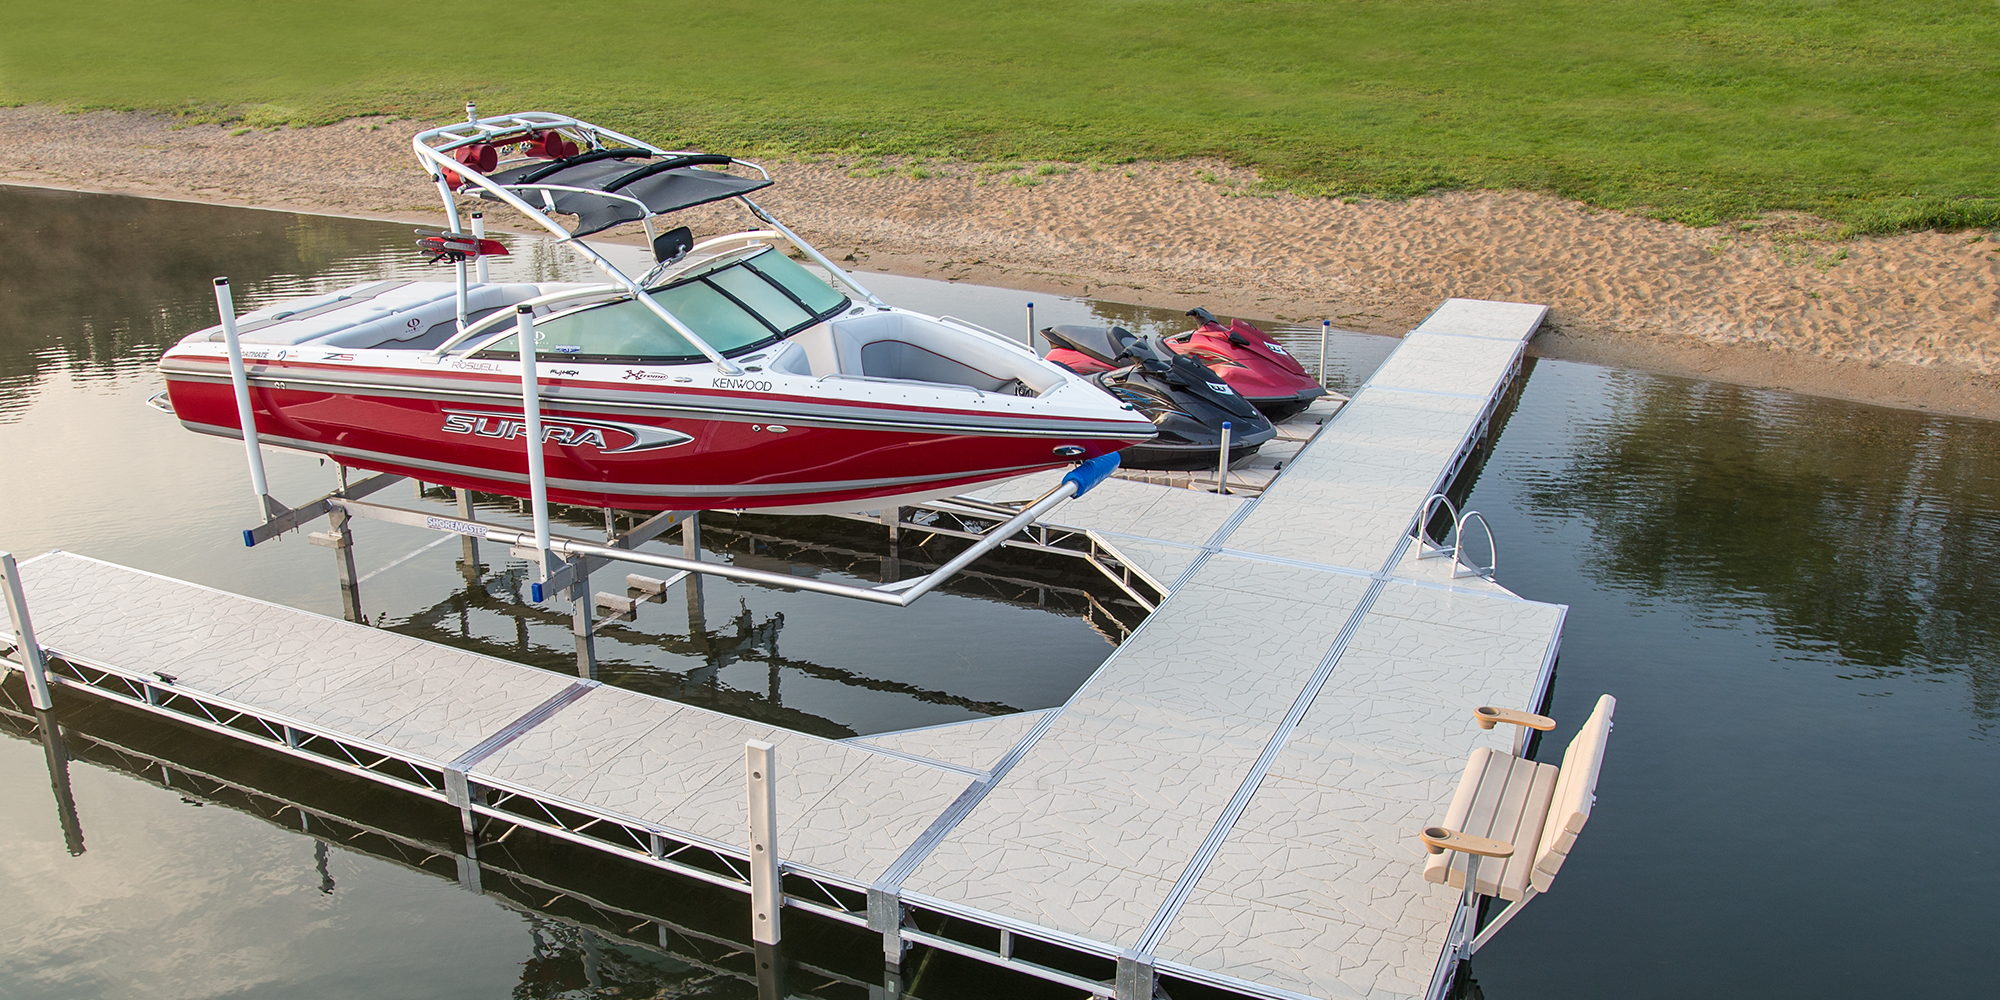
ShoreMaster uses aluminum for our waterfront products because it’s lightweight and durable in many waterfront situations, so that it can be easily lifted or pushed into the water. Line the lift up with the dock, and once it’s in position, check that each of the legs has stable footing and that the horizontal beams are level.
Boat Lift Installation Tips From ShoreMaster
In addition to being an innovator in engineering and pioneering the best waterfront products, ShoreMaster’s customer support team is full of waterfront enthusiasts and product experts. From our headquarters in Minnesota to our family of dealers in our network, we’re full of tips for making our products work no matter what water you spend your time on. Our product installation instructions are readily available on our website to ensure that you’re doing everything right. If you have further questions about our products or installation, you can also contact a ShoreMaster dealer near you.